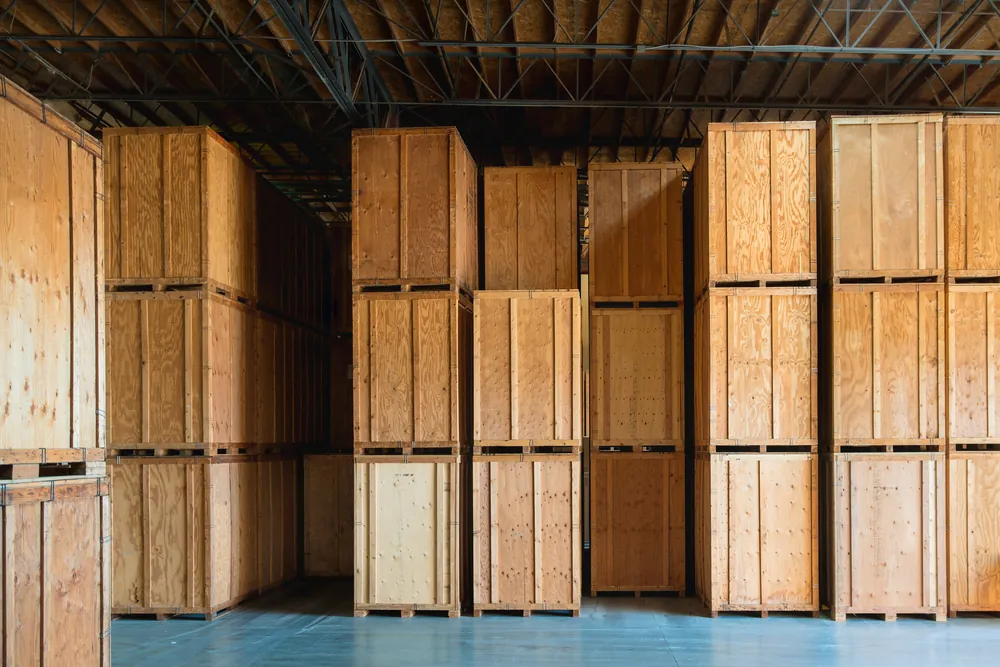
When you transport your freight using LTL shipping, it will be grouped with other LTL (less-than-truckload) shipments and unloaded and reloaded at a freight terminal before it reaches its destination. An improperly packaged shipment may cause delays and unnecessary damage. While you can purchase freight insurance to help cover the cost of damages, it’s best to be proactive by packing your freight correctly. DIY crating provides the highest level of protection against damage and loss. DIY crating is done! You now have your very own reusable crate.
While FreightCenter itself doesn’t offer crating services, we work with professional crating companies such as You Crate. You Crate offers excellent crating services for a reasonable cost. They have different-sized containers that are easy and fast to assemble. Best of all, the crates are reusable and returnable.
Don’t forget to include your crate and any other packaging in the final weight and dimensions to ensure your freight quote is correct.
DIY Crating
If having your shipment crated is a must, but you don’t want to spend the extra money for a professional service, follow these steps to build your crate for your shipment for less than $100. Keep in mind you will need access to the following tools: power drill, chop saw, and table saw. When you transport your freight using LTL shipping, it will be grouped with other LTL (less-than-truckload) shipments and unloaded and reloaded at a freight terminal before it reaches its destination. An improperly packaged shipment may cause delays and unnecessary damage.
While you can purchase freight insurance to help cover the cost of damages, it’s best to be proactive by packing your freight correctly. DIY crating provides the highest level of protection against damage and loss. While FreightCenter itself doesn’t offer crating services, we work with professional crating companies that do.
Don’t forget to include your crate and any other packaging in the final weight and dimensions to ensure your freight quote is correct.
6 Important Steps to DIY Crating
If having your shipment crated is a must, but you don’t want to spend the extra money for a professional service, follow these steps to build your crate for your shipment for less than $100.
Keep in mind you will need access to the following tools: power drill, chop saw, and table saw.
1. Gather the following materials: 2x4s, one 4×4, half-inch plywood, half-inch foam insulator sheet, and 2.5-inch screws. Note: the amount of materials you need depends on the size of the crate you need.
2. Gather the dimensions of the item you are shipping. Remember to account for the half-inch thick foam on all sides.
3. Start with the crate base. Make your floor a pallet if your shipment is heavy and needs a forklift. Build risers as part of the base using the 4x4s on either end. Make sure the spacing is at least 3.5 inches off the ground. Cut the plywood to size from your measurements, and then fully frame the base with 2x4s securing them with screws. Cut two 4x4s and attach them to the length of the sides of your floor. Flip it over, add the foam to the top, and secure it with more screws in each corner.
4. Setting your shipment inside your base will help you create the sides. It is also easier to put your sides into two categories, sides A and B. Sides A will be shorter than the base, and sides B will be as long as the base, so there is overlap when you screw the sides together. Cut your plywood and frame with 2x4s. On the other side, attach your half-inch thick foam.
5. Attach sides A to the base and measure the size of sides B, accounting for the overlap. If you have clamps, use them to hold the sides as you screw them in. For easy disassembly, mark the screws that need to be removed with a marker. Cut the plywood, so it fits the entire top and screws down.
6. Lastly, cut the foam to fit into the top. If you have done everything correctly, the foam should be flush with the top of the crate.


